Drag your image here, or click to browse
FAVICON GENERATOR
Scan QR code to open this tool on your phone
How to use Online Favicon Generator for Blogger

A favicon, also known as a shortcut icon or website icon, is a small icon that represents a website or webpage. It appears in the browser's address bar, next to the website's name "convertor.tools" in bookmarks, and on the tabs when multiple websites are open. Favicons are a simple yet powerful way to improve the visual identity of a website and make it easy for users to recognize and access it.
Why Use an Online Favicon Generator?
Creating a favicon generator tool from scratch can be challenging, especially if you don't have design skills or access to professional graphic design software. This is where online favicon generators come in handy. Favicon meta tag generator tools provide user-friendly interfaces that allow you to customize and generate favicons effortlessly.
Already know how to use it? Let's use the favicon generator and tomodachi life qr codes.
Benefit OF Favicon Generator
To benefit from a favicon generator, regardless of its name or source, you would typically follow the steps outlined in previous responses to create and add a favicon to your website. Favicons serve several benefits, such as:
Branding: Favicons can help reinforce your website's brand identity by displaying a unique logo or symbol in the browser tab.
Recognition: A favicon makes your site easily recognizable among users with multiple tabs open in their browsers.
Professionalism: A favicon adds skilled communication to your website, making it look more shiny and selected.
User Experience: It improves the overall user experience by providing visual cues and enhancing the aesthetics of your site.
Here's a step-by-step guide on how to do it:
Step 1: Find an Online Favicon Generator
Start by finding a reliable online favicon generator. An immediate search on your favorite search engine will provide several options. Look for a generator that is simple to use, offers customization options, and provides multiple output sizes for optimal display across different devices.
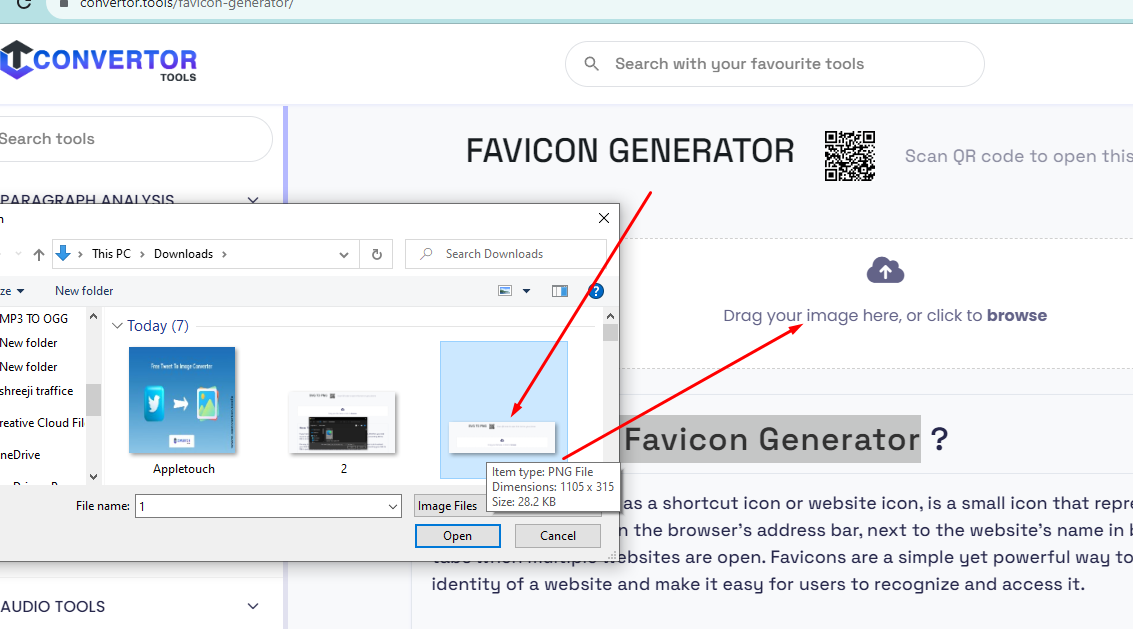
Step 2: Choose and Upload Your Image
Once you've found a suitable favicon generator, it's time to choose the image you want to use. Select an image that represents your website or brand effectively. A simple and straightforward image is recommended, as favicons are typically small.
After selecting your image, upload it to the favicon generator. Some generators may allow you to drag and drop the image directly onto the interface, while others may require you to browse your computer for the file.
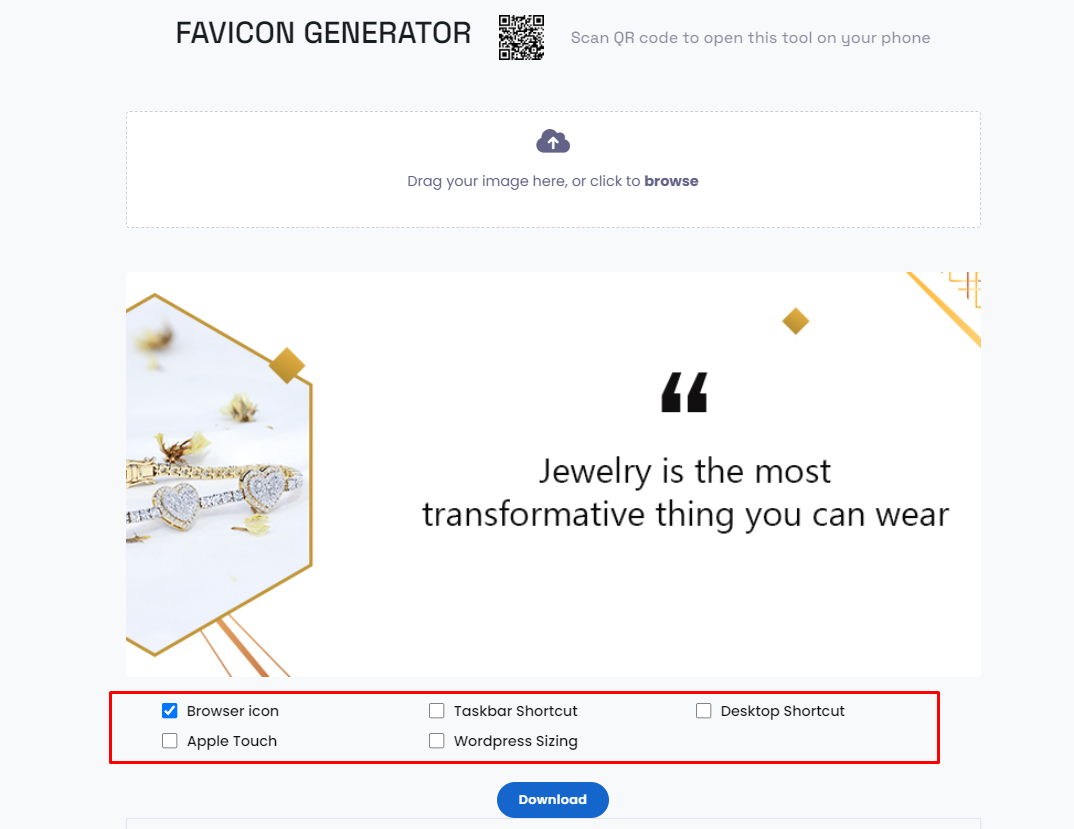
Step 3: Customize and Generate the Favicon
Now that your image is uploaded, it's time to customize and generate your blogger favicon generator. The favicon generator will provide various customization options, such as resizing, cropping, and adding effects or text overlays. Experiment with these options to create a favicon that aligns with your blog's branding.
Once satisfied with the customization, click the "Generate Favicon" or similar button to create your favicon. The generator will process your image and generate favicon files in different sizes and formats, including .ico, Browser icon, Taskbar Shortcut, Desktop Shortcut, WordPress Sizing, Apple Touch, and .jpg.
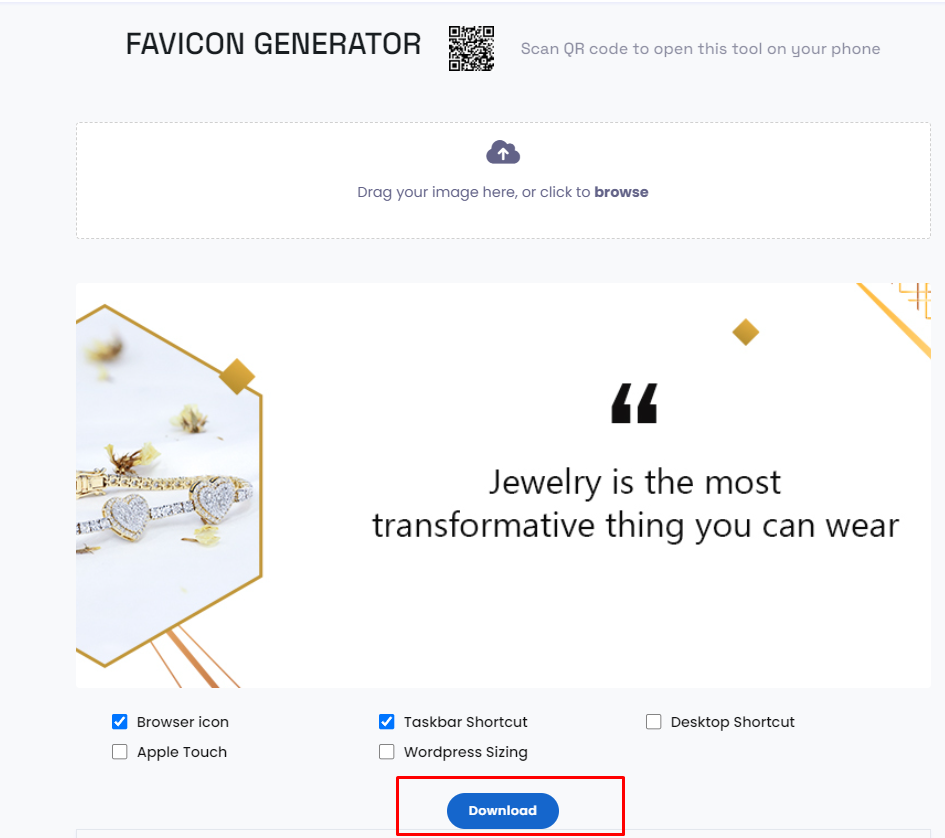
Step 4: Download and Save the Favicon Files
After the favicon generator has finished creating your favicon, it will present you with download options. Choose the file format most suitable for your needs, such as .ico, for compatibility with most browsers.
Download the favicon files to your computer and remember where you saved them. Building a dedicated folder to keep all your website's assets, including the favicon files, is a good practice.
Similar Tools